Gutters are one of the most overlooked components of a building’s exterior, yet they play a critical role in protecting homes and commercial properties from water damage. In a city like New York, where rainfall, snow, and seasonal storms are common, properly sealing gutter seams is essential to prevent leaks that can damage walls, foundations, and landscaping.
At Gutter NYC, we specialize in professional gutter services across Manhattan, Brooklyn, Queens, the Bronx, and Staten Island, helping homeowners and businesses maintain leak-free gutters year-round.
This guide explains everything you need to know about how to seal gutter seams, from tools and materials to step-by-step instructions, borough-specific considerations, and maintenance tips.
Understanding Gutter Seams
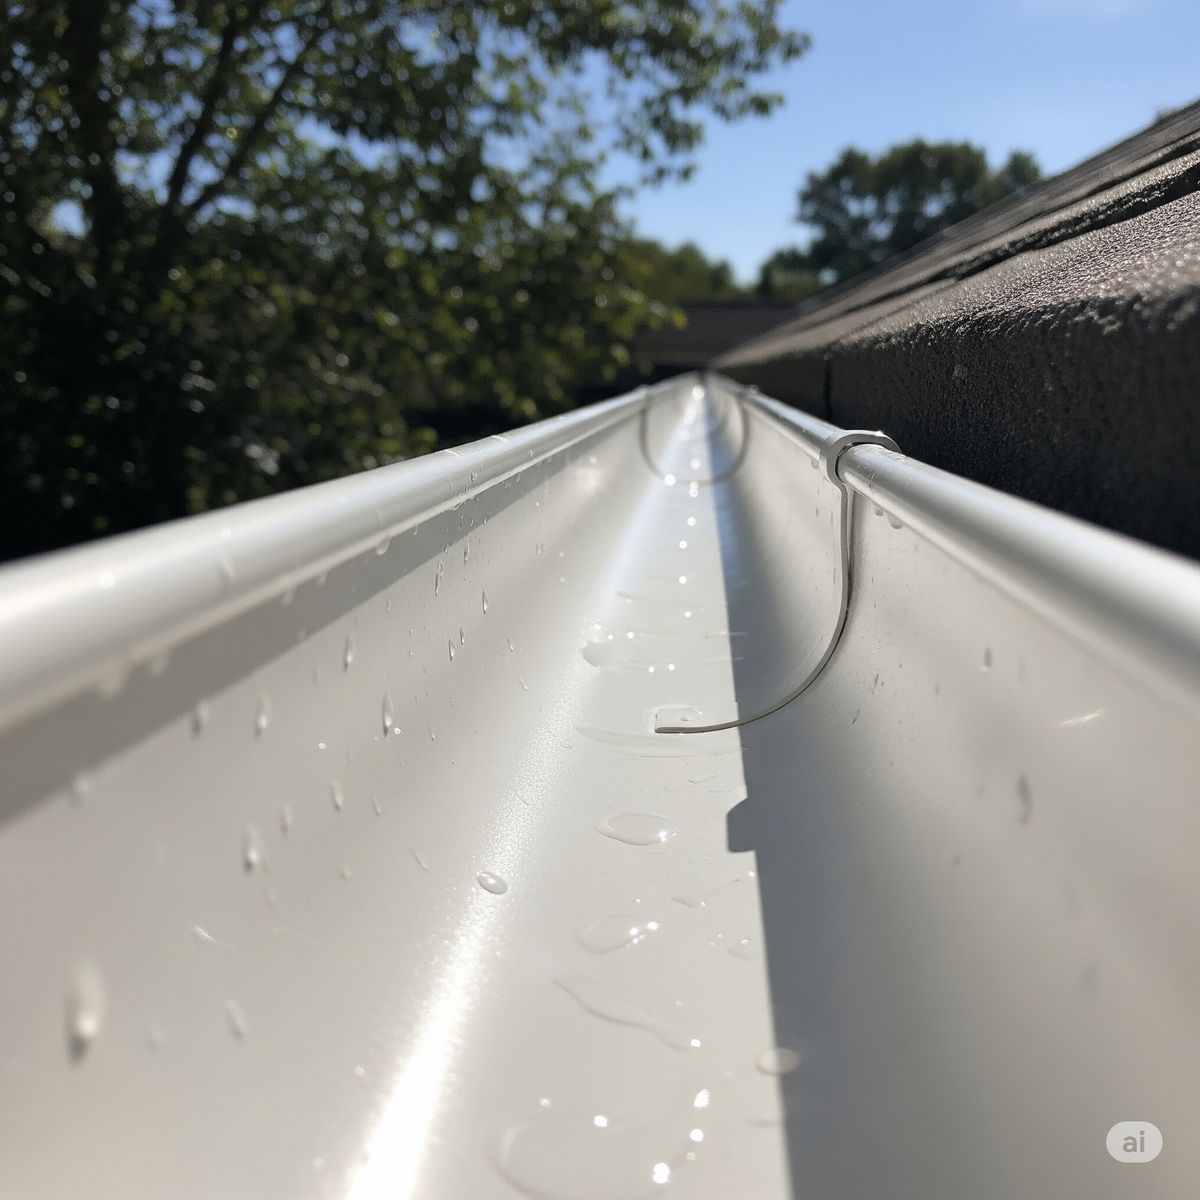
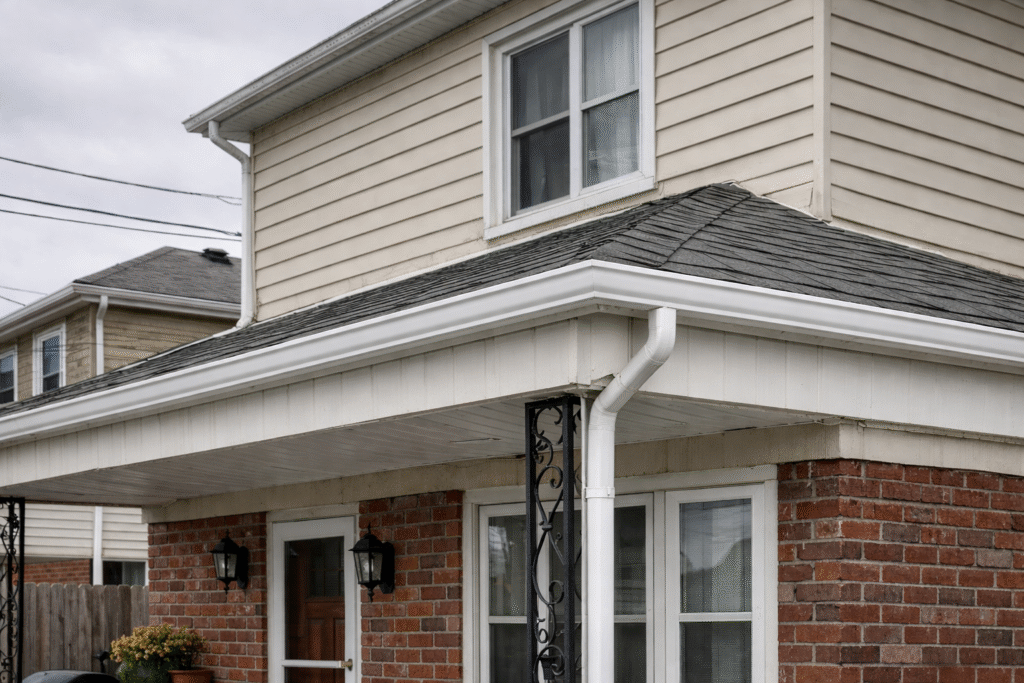
Gutter seams are the joints where two sections of a gutter meet. They are the most vulnerable points in the gutter system, as these joints can develop leaks over time due to wear and tear, rust, or improper installation.
Common types of gutter seams include:
- End seams: Where the gutter ends meet the downspout or a corner.
- Overlap seams: Where one section of gutter overlaps another.
- Butt seams: Where two sections meet directly edge-to-edge.
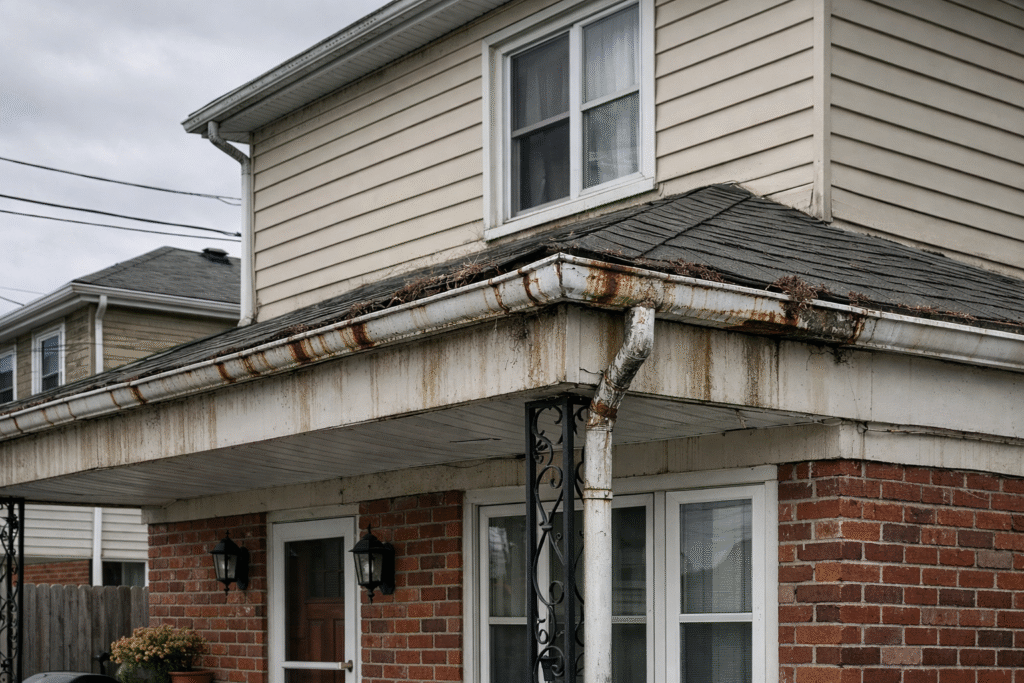
Leaks at these seams can lead to:
- Water pooling around the foundation
- Damage to siding or masonry
- Basement flooding
- Landscape erosion
- Wood rot in fascia boards
Properly sealing these seams is a cost-effective way to extend the life of your gutter system.
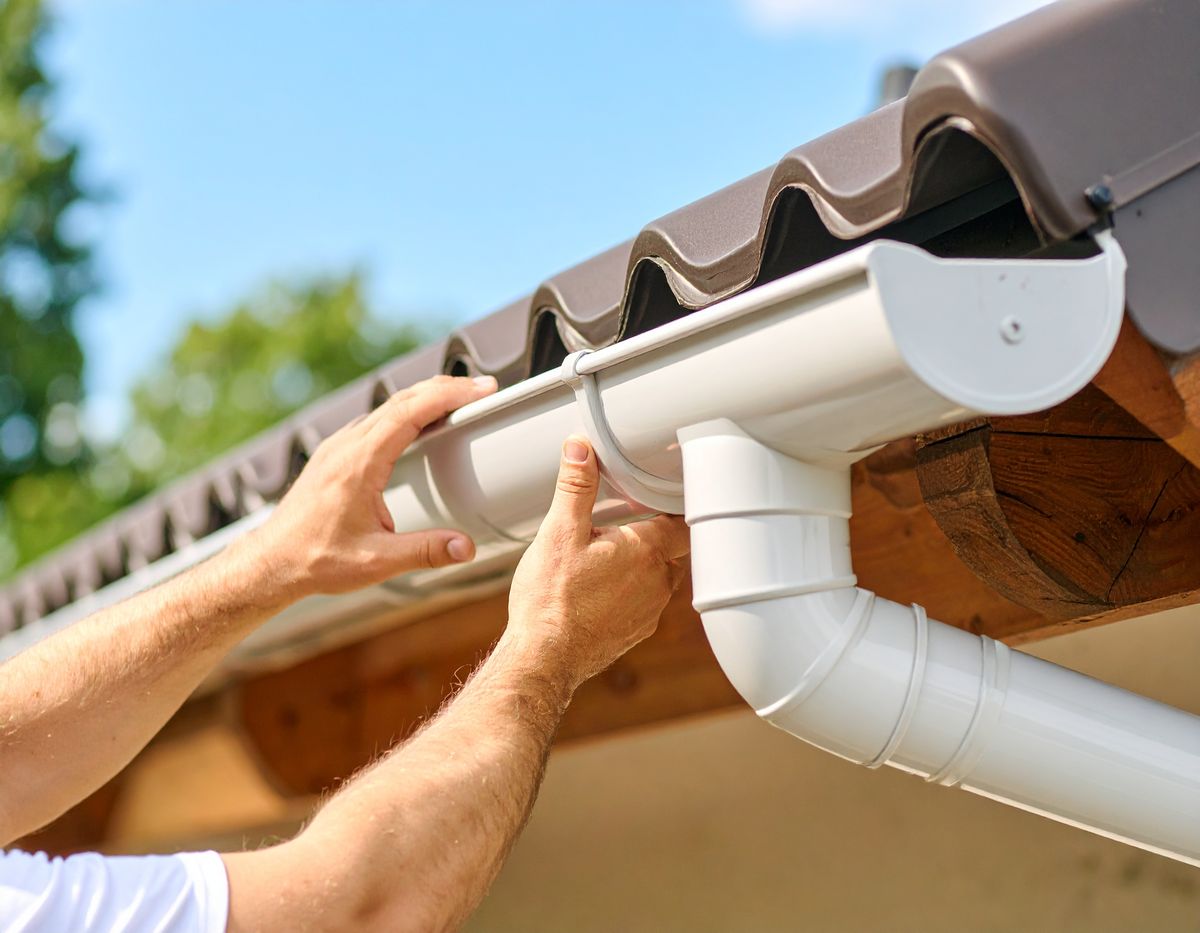
Tools and Materials Needed
Before starting, ensure you have the right tools and materials:
- Weatherproof gutter sealant or silicone caulk (suitable for metal or aluminum gutters)
- Wire brush or sandpaper (for cleaning rust and old sealant)
- Clean cloths or rags
- Putty knife or caulking gun
- Ladder and safety harness (safety first!)
- Gloves and protective eyewear
Pro Tip: Using a high-quality, waterproof sealant is crucial for NYC’s variable weather conditions, from snowy winters to humid summers.
Step-by-Step Process to Seal Gutter Seams
Step 1: Inspect the Gutters
Examine all gutter seams carefully. Look for:
- Visible cracks or holes
- Rust or corrosion
- Old, dried-out sealant
- Water stains or drips during rainfall
This will help you prioritize which seams need attention first.
Step 2: Clean the Seam Area
Use a wire brush or sandpaper to remove rust, dirt, and old sealant. A clean surface ensures proper adhesion of the new sealant.
- Wipe the area with a damp cloth to remove dust
- Make sure the seam is completely dry before applying sealant
Skipping this step is one of the most common reasons sealant fails prematurely.
Step 3: Apply Sealant
- Use a caulking gun or putty knife to apply the sealant along the seam.
- Cover both the inside and outside of the joint for maximum protection.
- Smooth the sealant with the putty knife to prevent gaps.
Pro Tip: Apply a slightly generous amount, but avoid overfilling, which can drip into the downspout.
Step 4: Allow Sealant to Cure
- Most sealants require 24–48 hours to fully cure.
- Avoid running water through the gutters during this period.
Curing time ensures that the sealant forms a durable, watertight bond.
Step 5: Test for Leaks
- Pour water through the gutter or wait for rain.
- Inspect all sealed seams for leaks or drips.
- Reapply sealant on any remaining weak spots.
Regular testing after sealing is crucial to ensure long-term performance.
Borough-Specific Tips for NYC
Each NYC borough has unique challenges when it comes to gutter maintenance:
- Manhattan: Older buildings may have custom or historic gutters; professional sealing is often recommended.
- Brooklyn: Tree coverage can increase leaf and debris buildup, stressing gutter seams.
- Queens: Seasonal snow and heavy rains require flexible, weatherproof sealants.
- The Bronx: Larger commercial roofs may need extra inspection to ensure all seams are sealed.
- Staten Island: Coastal salt exposure can accelerate corrosion; frequent inspection and high-quality sealant are essential.
Common Mistakes to Avoid
- Applying sealant on wet or dirty gutters – leads to poor adhesion
- Using the wrong sealant – non-weatherproof or indoor caulk will fail quickly
- Ignoring minor leaks – small leaks can expand into major problems
- Skipping inspection after sealing – leaks can remain hidden without testing
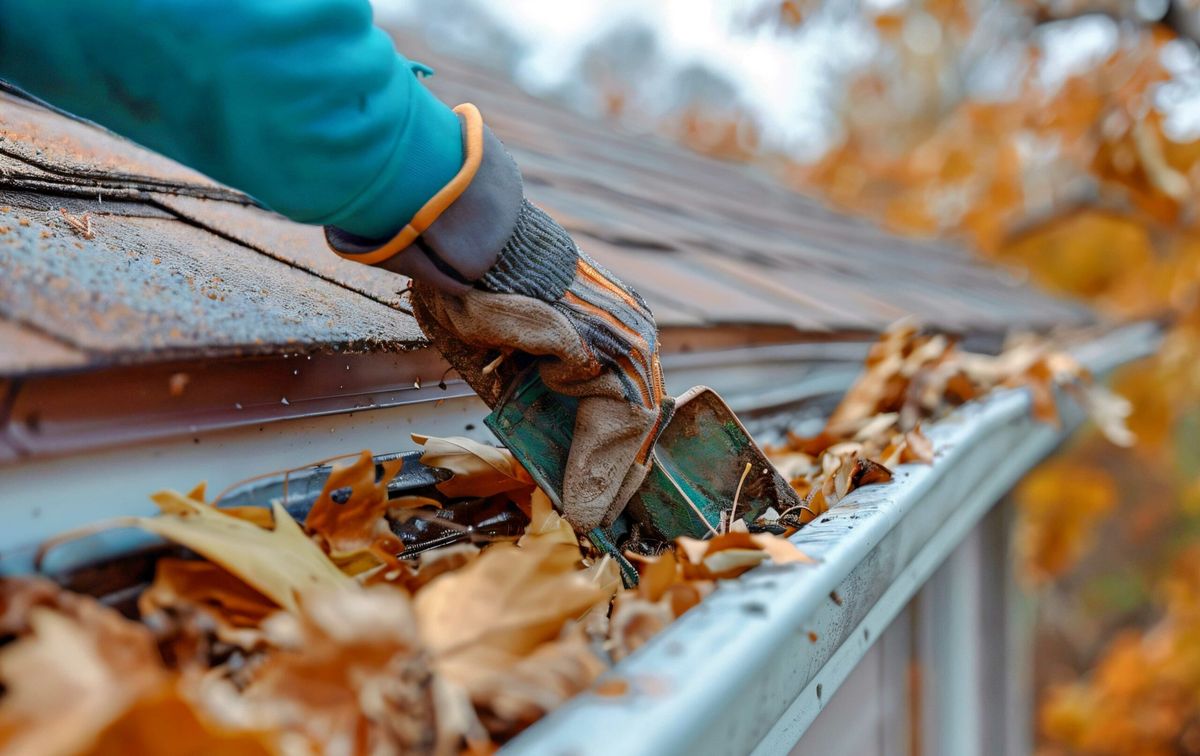
Maintenance Tips
- Inspect your gutters at least twice a year, ideally in spring and fall.
- Remove debris such as leaves, twigs, and dirt regularly.
- Ensure downspouts are free of blockages to prevent pressure on seams.
- Consider gutter guards to reduce debris buildup and minimize future leaks.
FAQs About Sealing Gutter Seams
Q1: Can I seal gutter seams myself?
Yes, homeowners can tackle small jobs, but commercial properties and large NYC buildings are safer with professional service.
Q2: How long does gutter sealant last?
High-quality sealants typically last 5–10 years, depending on weather conditions and maintenance.
Q3: How often should I check my gutter seams?
Twice a year, before and after heavy storms, snow, or seasonal changes.
Q4: Are there eco-friendly sealants available?
Yes, many silicone-based, non-toxic sealants are safe for both homes and commercial buildings.
Q5: Does sealing gutters prevent all leaks?
While sealing significantly reduces leaks, severe corrosion or damaged gutters may require replacement.
Why Choose Gutter NYC
At Gutter NYC, we provide residential and commercial gutter solutions across all New York City boroughs. Our team ensures:
- Expert sealing of all gutter seams
- Long-lasting, weather-resistant results
- Customized service for every property
- Safety, efficiency, and professional workmanship
Protect your home or business from water damage. Contact Gutter NYC today for expert gutter seam sealing in Manhattan, Brooklyn, Queens, the Bronx, and Staten Island.